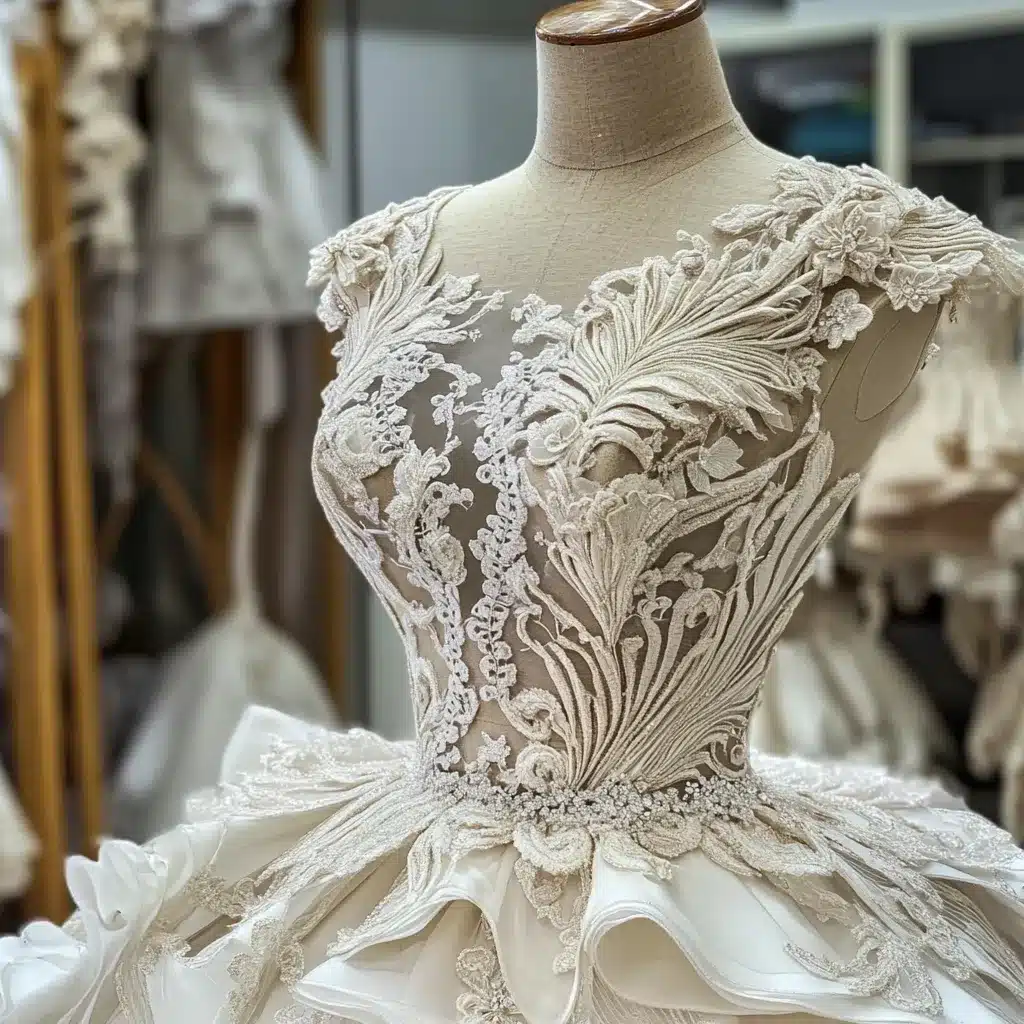
Your wedding dress is one of the most important elements of your big day, and the final fittings are where your dream gown is transformed into the perfect, personalized masterpiece. Managing the timeline for alterations can be stressful, but with careful planning and clear communication, you can ensure that every detail is refined well before you walk down the aisle. This guide will help you navigate the alteration process and manage your timeline effectively so your dress fits like a glove on your wedding day.
Why Alteration Timelines Matter
- Avoid Last-Minute Stress: A well-managed timeline allows ample time for adjustments, reducing the risk of rushed changes that could impact the final fit.
- Ensure Perfection: Multiple fittings and careful scheduling ensure that every alteration—from adjusting hems to fine-tuning seams—is executed to perfection.
- Build Confidence: Knowing your dress will be ready on time helps you focus on enjoying your wedding day without worry.
Steps to Managing Your Alteration Timeline
1. Start Early
- Plan Ahead: Begin the alteration process as soon as you’ve purchased your dress. This gives you plenty of time to schedule multiple fittings and handle any unexpected delays.
- Create a Timeline: Work with your tailor to establish a clear schedule, including deadlines for each fitting and final adjustments.
2. Schedule Multiple Fittings
- Initial Fitting: Schedule your first fitting as soon as possible after purchasing your gown. This will help identify major alterations that need to be addressed.
- Midpoint Fitting: Arrange a second fitting a few weeks later to review progress and address any additional tweaks.
- Final Fitting: Schedule the final fitting at least one to two weeks before your wedding day to confirm the dress fits perfectly. This ensures there’s still time to make any last-minute adjustments if needed.
3. Communicate Clearly with Your Tailor
- Detailed Briefing: Share your wedding timeline and expectations with your tailor from the outset. Be clear about any specific alterations you need.
- Regular Updates: Maintain open communication with your tailor between fittings. Promptly discuss any issues or adjustments so they can be addressed without delay.
- Confirm Deadlines: Always confirm appointment times and alteration deadlines in writing. This helps avoid misunderstandings and keeps the process on track.
4. Build in a Buffer
- Plan for Delays: Allow extra time between fittings to accommodate any unforeseen delays, such as busy seasons or minor revisions that take longer than expected.
- Contingency Plans: Have a backup plan in case of emergencies. For example, ask if your tailor offers rush alterations or if there’s another recommended specialist who can step in if needed.
5. Stay Organized
- Create a Checklist: Keep a detailed checklist of all the alterations needed and track each stage of the process. This ensures no detail is overlooked.
- Document Changes: Take photos or notes during each fitting. Documenting the changes can help you and your tailor visualize progress and ensure all adjustments meet your expectations.
Final Thoughts
Managing your wedding dress alteration timeline is crucial for achieving that flawless, perfect fit on your big day. With careful planning, clear communication, and a proactive approach, you can navigate the fitting process smoothly and confidently. Remember, each fitting brings you one step closer to your dream wedding look—so embrace the journey, trust your tailor, and enjoy every moment leading up to your wedding.
Happy planning, and here’s to a dress that fits perfectly and makes you shine on your special day!


